
From Point Cloud to Verified Revit Model: A 3D Scan to Revit Walkthrough
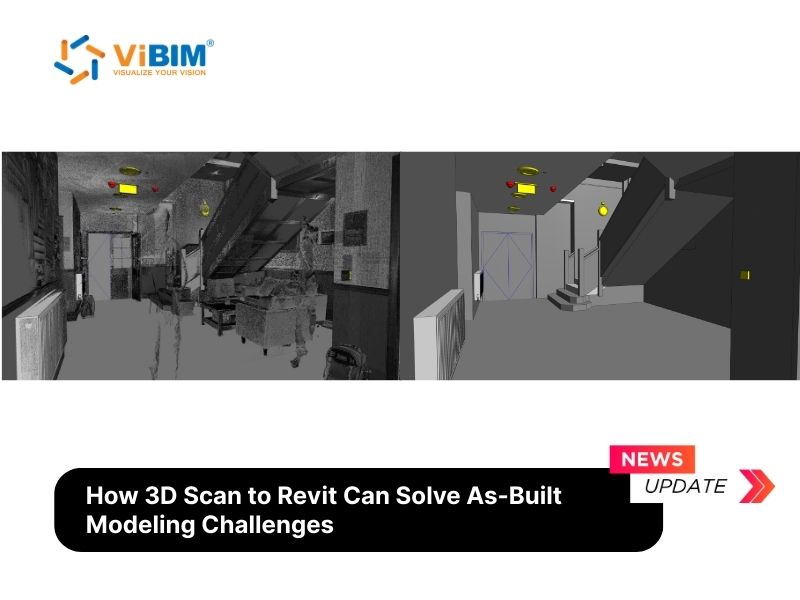
An as-built model is only useful if the team can trust it. This walkthrough follows one scanned building from the first site visit to a Revit model that has been checked against the data it came from, and it points out where each step protects the project from the errors that manual surveys tend to leave behind.
Capture the site in one visit
The workflow begins with a terrestrial or mobile laser scanner. Instead of measuring a few chosen points with a tape, the scanner records millions of measurements and builds a dense point cloud of every surface in line of sight. Tall ceilings, overhead pipe runs and tight plant rooms can be recorded from a safe distance, without scaffolding or lifts. That matters on heritage buildings and industrial sites, where reaching a surface is often harder than measuring it.
Clean and register the scans
Raw scans are not ready for modeling. In a tool such as Autodesk ReCap, the team removes noise and registers the separate scans into one coordinated dataset. The processed data is indexed as RCP or RCS files, which keep the quality of the original capture. Skipping this step is the quickest way to model on top of misaligned data, so a careful team treats registration as its own checkpoint.
Link the data and model against it
Once the indexed point cloud is linked into Revit, it becomes a 3D reference that the modelers work against. They slice the cloud with section boxes and view ranges so that a single floor or zone can be read clearly. Walls, floors and beams are then drawn by snapping to the scanned geometry, rather than to design values taken from old drawings. Windows, doors and MEP equipment come from families that are chosen or built to fit the scanned dimensions.
Turn the cloud into a deliverable
Teams that want this done at volume often rely on dedicated point cloud to BIM services so that scanning companies and design teams can keep their own people on fieldwork and design. Whoever does the modeling, the goal is the same: every element in the model should carry real data, such as material, size and system type, so the file can support facility management later and not only the current renovation.
Verify before release
The last checkpoint is visual and systematic. Modelers compare each element against the underlying point cloud and look for deviations. Because architecture, structure and MEP are built from one scan dataset, clash detection in Navisworks can run before construction starts. Conflicts between ductwork and beams, or between new pipes and existing services, surface in the model and not on site.
What the process delivers
The result is a single baseline that every discipline reads from. A team that wants the longer argument, including the measured challenges, the benefits and the project examples, can read ViBIM's full guide to 3D scan to Revit for as-built modeling. In short, capture once, register carefully, model against the cloud, and check every element before it leaves the office.